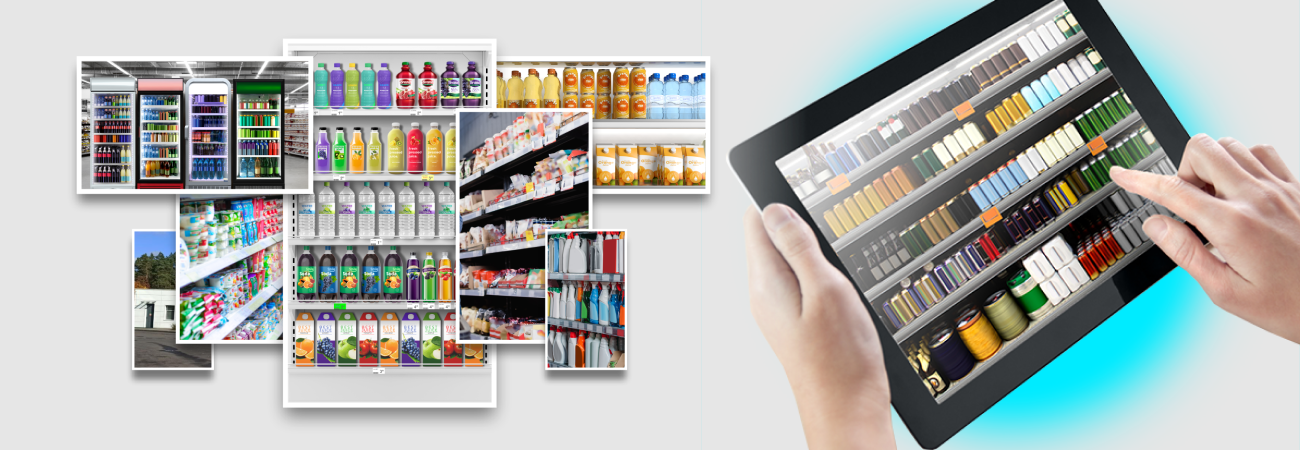


This is a common issue. Shelves in shops are long and do not fit in one frame even with horizontal shooting.
Angle-wise photos are not appropriate, since distant goods are difficult to distinguish.

This issue may be addressed with a series of photos. Several pictures can be combined into one and get a photo of the whole rack.
You can “merge” images manually or using special applications. Let’s consider photo merging using the Goods Checker IT solution.

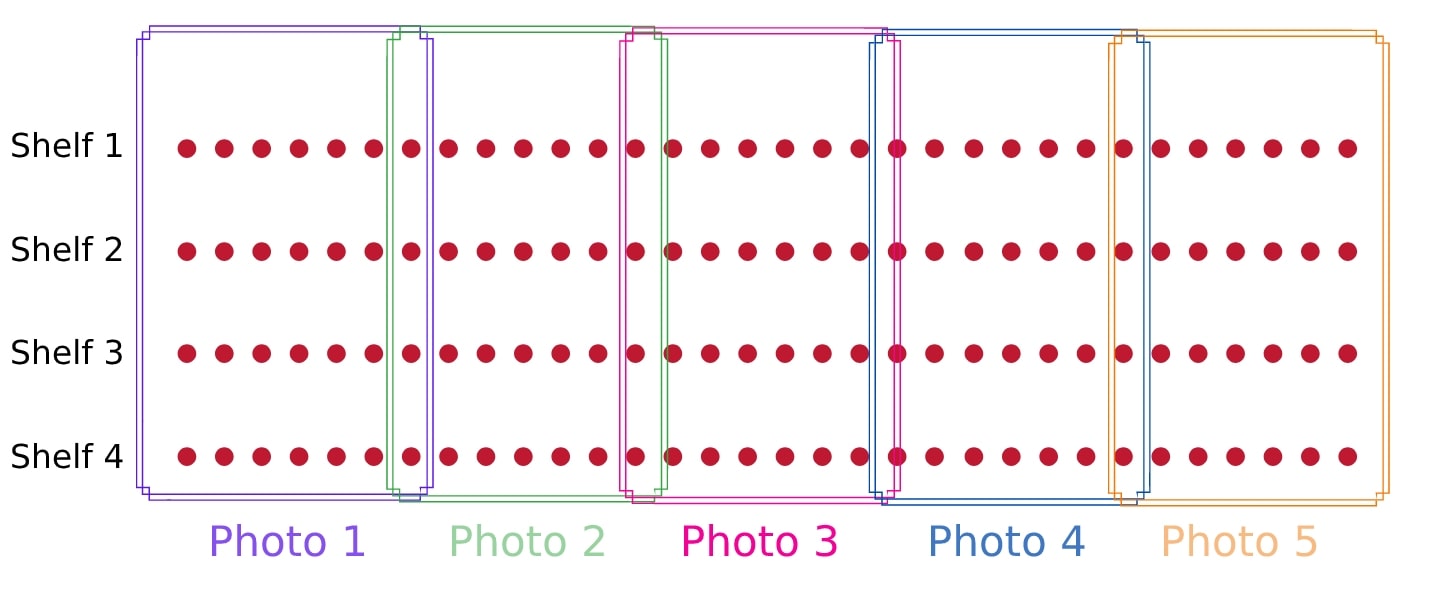
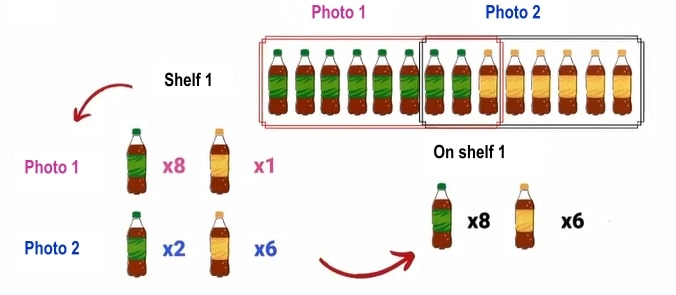
In order for the Goods Checker to “merge” the pictures correctly, you need to overlap the pictures. This means that each photo should show the transition from one group of products to another.
The diagram shows the correct overlap. The first and second pictures show products from different groups.
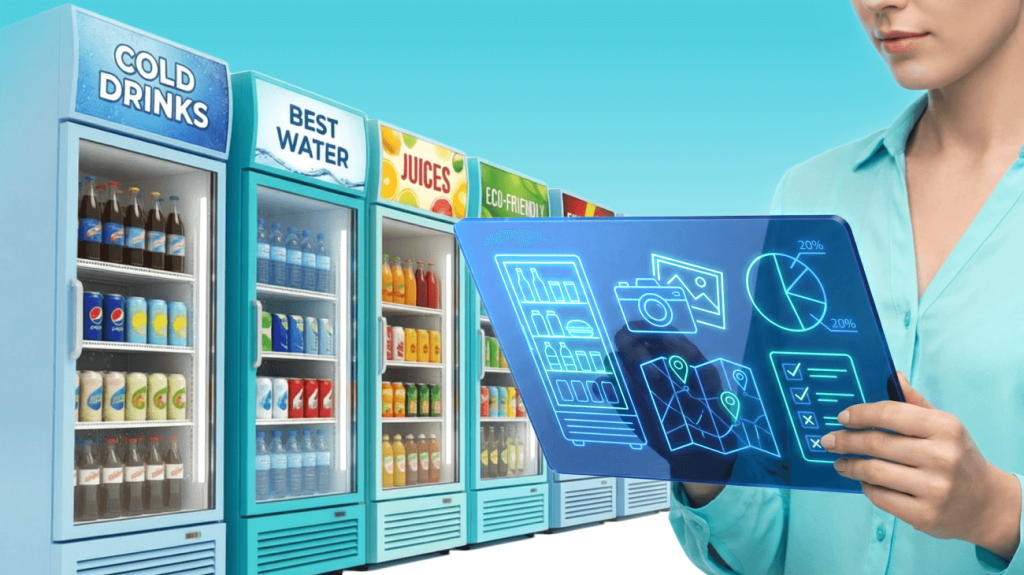
The Goods Checker mobile application recognizes the goods in the photo and checks the layout against the planogram. It helps to align the image and merges several images into one. And the web application also allows you to create planograms and view detailed analytics by merchandisers, stores, goods, etc.
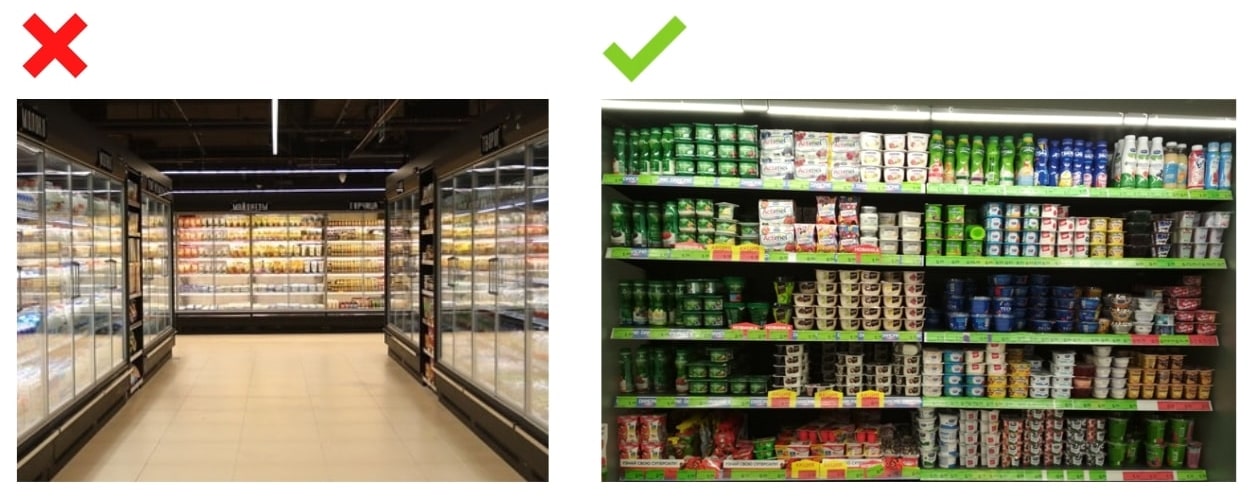
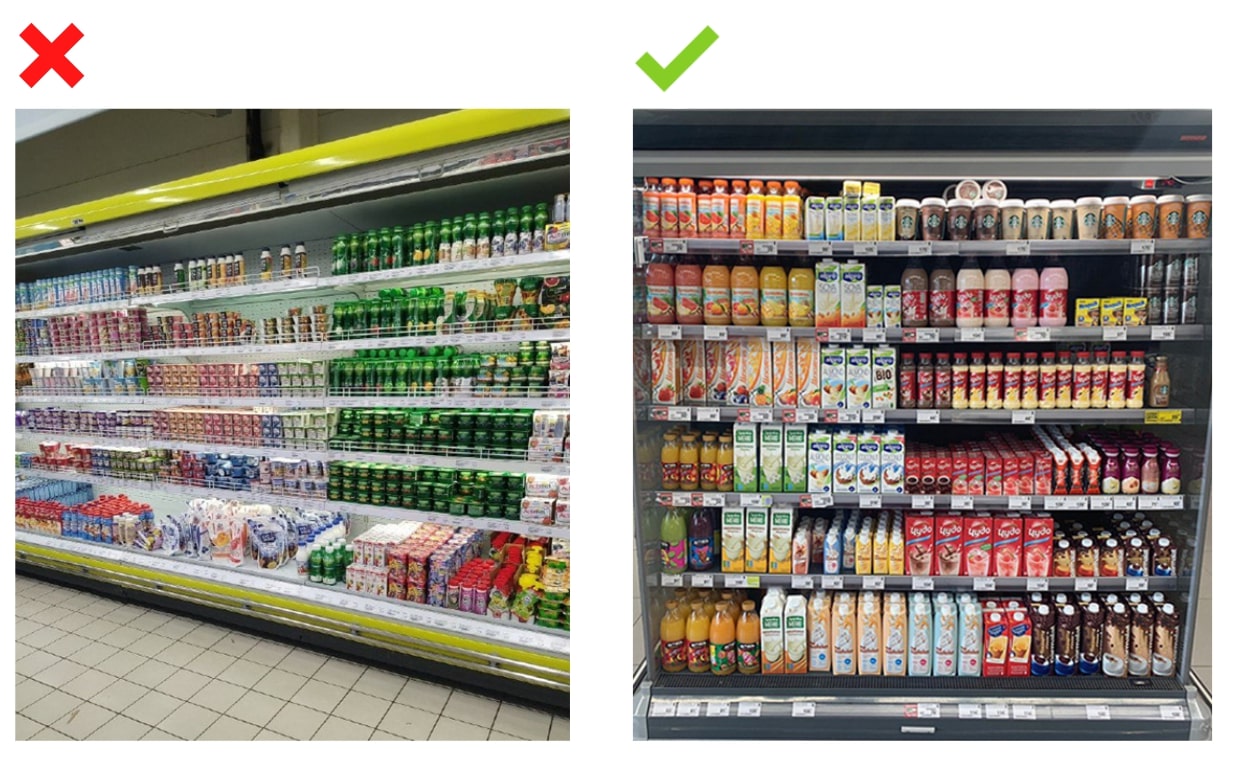
Rule 5: take photos as frontally as possible so that there are no extreme angles in the photo.
This aspect has already been mentioned earlier. If the photo is slightly tilted and distant goods are easy to recognize, the photo is all right. But if the angle of the picture is very large, then distant goods intermix and they cannot be recognized, which means that the layout cannot be checked.
Rule 6: one series of photos — one category and one rack.
If there are ketchup and sunflower oil on the same rack, then there is no need to photograph them together. Better take two photos with each product category separately.

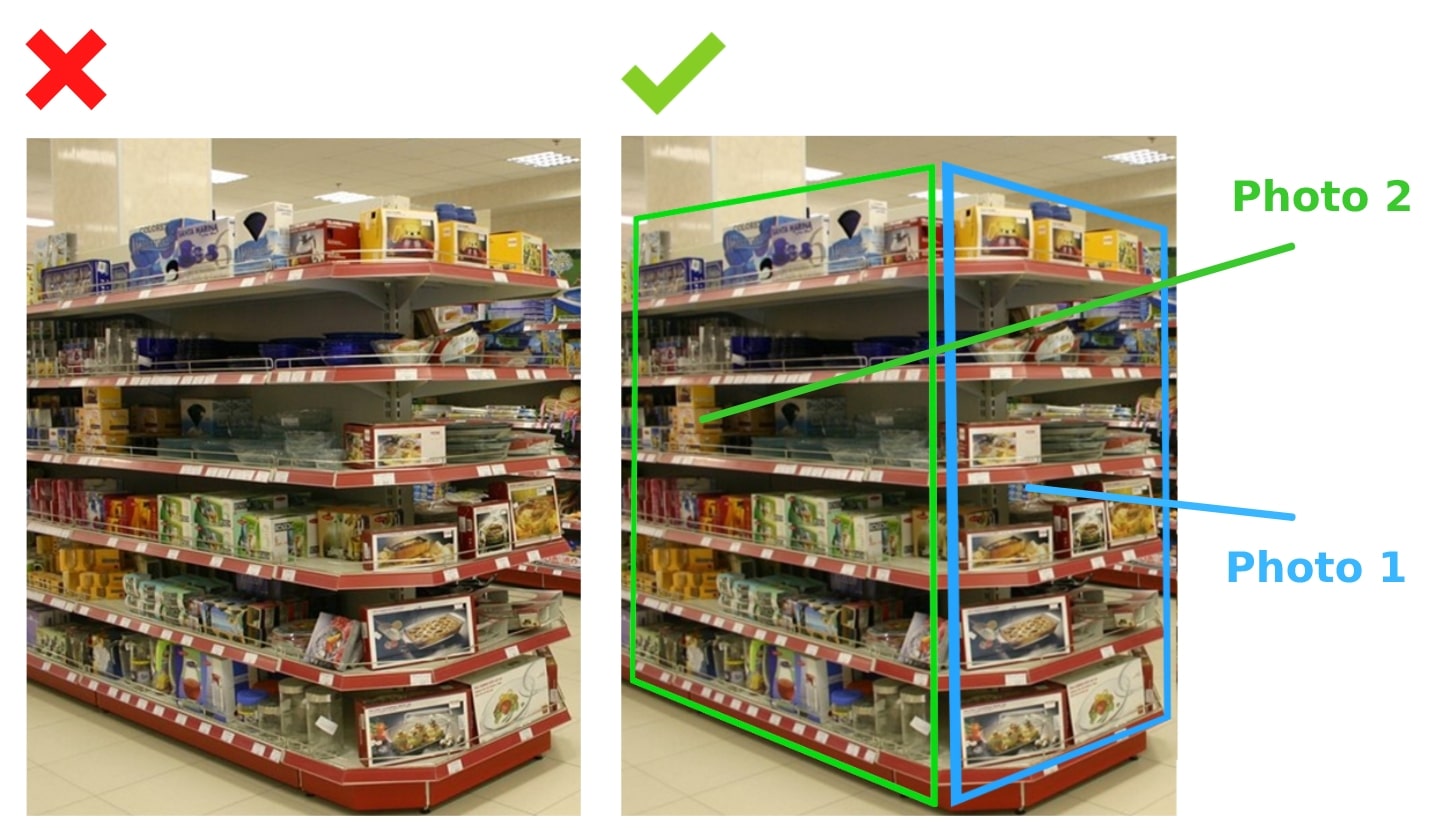
Rule 7: take photos of each side of the rack separately.
If the rack is large and has multiple sides, then each side must be photographed separately. No need to try to shoot it from the side so that you can see everything at once. In this case, it will be difficult to check the layout.
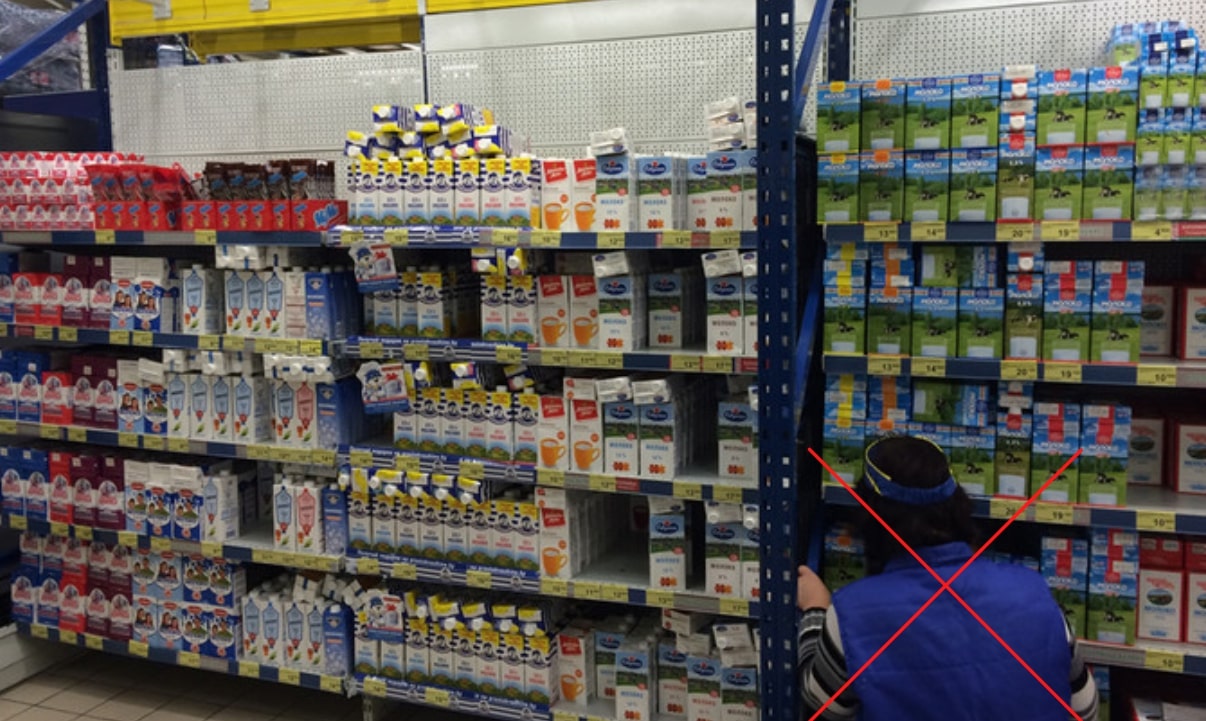
Rule 8: remove obstacles that interfere with checking the planogram.
There should be no people, shopping carts, boxes or other objects in the photo that cover part of the rack. In such cases, it is impossible to fully check the display of goods.
Also, do not photograph the surroundings of the rack. They only interfere with distinguishing objects.

Rule 9: check if the photo is upside down.
It’s trite to say so but practice shows that people often send upside-down pictures. This happens due to haste or fatigue; often the phones automatically invert photos, and due to other factors.
Rule 10: Clean your lens before shooting.
A dirty lens is one of the most common causes of poor photo quality. Blurry or unclear photos make it hard to identify products clearly, which means managers can’t properly verify displays. This directly impacts your performance reviews and bonus amounts. So always clean your lens before taking photos.
Rule 11: Use both hands for steady shots.
Blurry photos usually happen because of shaky hands. This is especially common in low light, when the camera uses slower shutter speeds and any movement shows up as blur.
Always hold your phone with both hands. Keep your elbows tucked against your body or brace yourself against something stable. Don’t take photos while walking—stop and take the shot. After pressing the shutter, hold the phone steady for another second until the photo is fully captured.
Small details in wide shelf shots are often hard to read. Price tags, promotional stickers, and marketing materials contain important information that managers need to verify displays.
If managers need to check price accuracy or confirm promotional materials are present, take additional close-up shots of these items. Get close enough so the text is easy to read.
This is especially important for promotional items, new products, and electronic price tags. One wide shelf shot plus 2-3 detailed photos of price tags will give managers everything they need for verification.